Custom printed backpacks
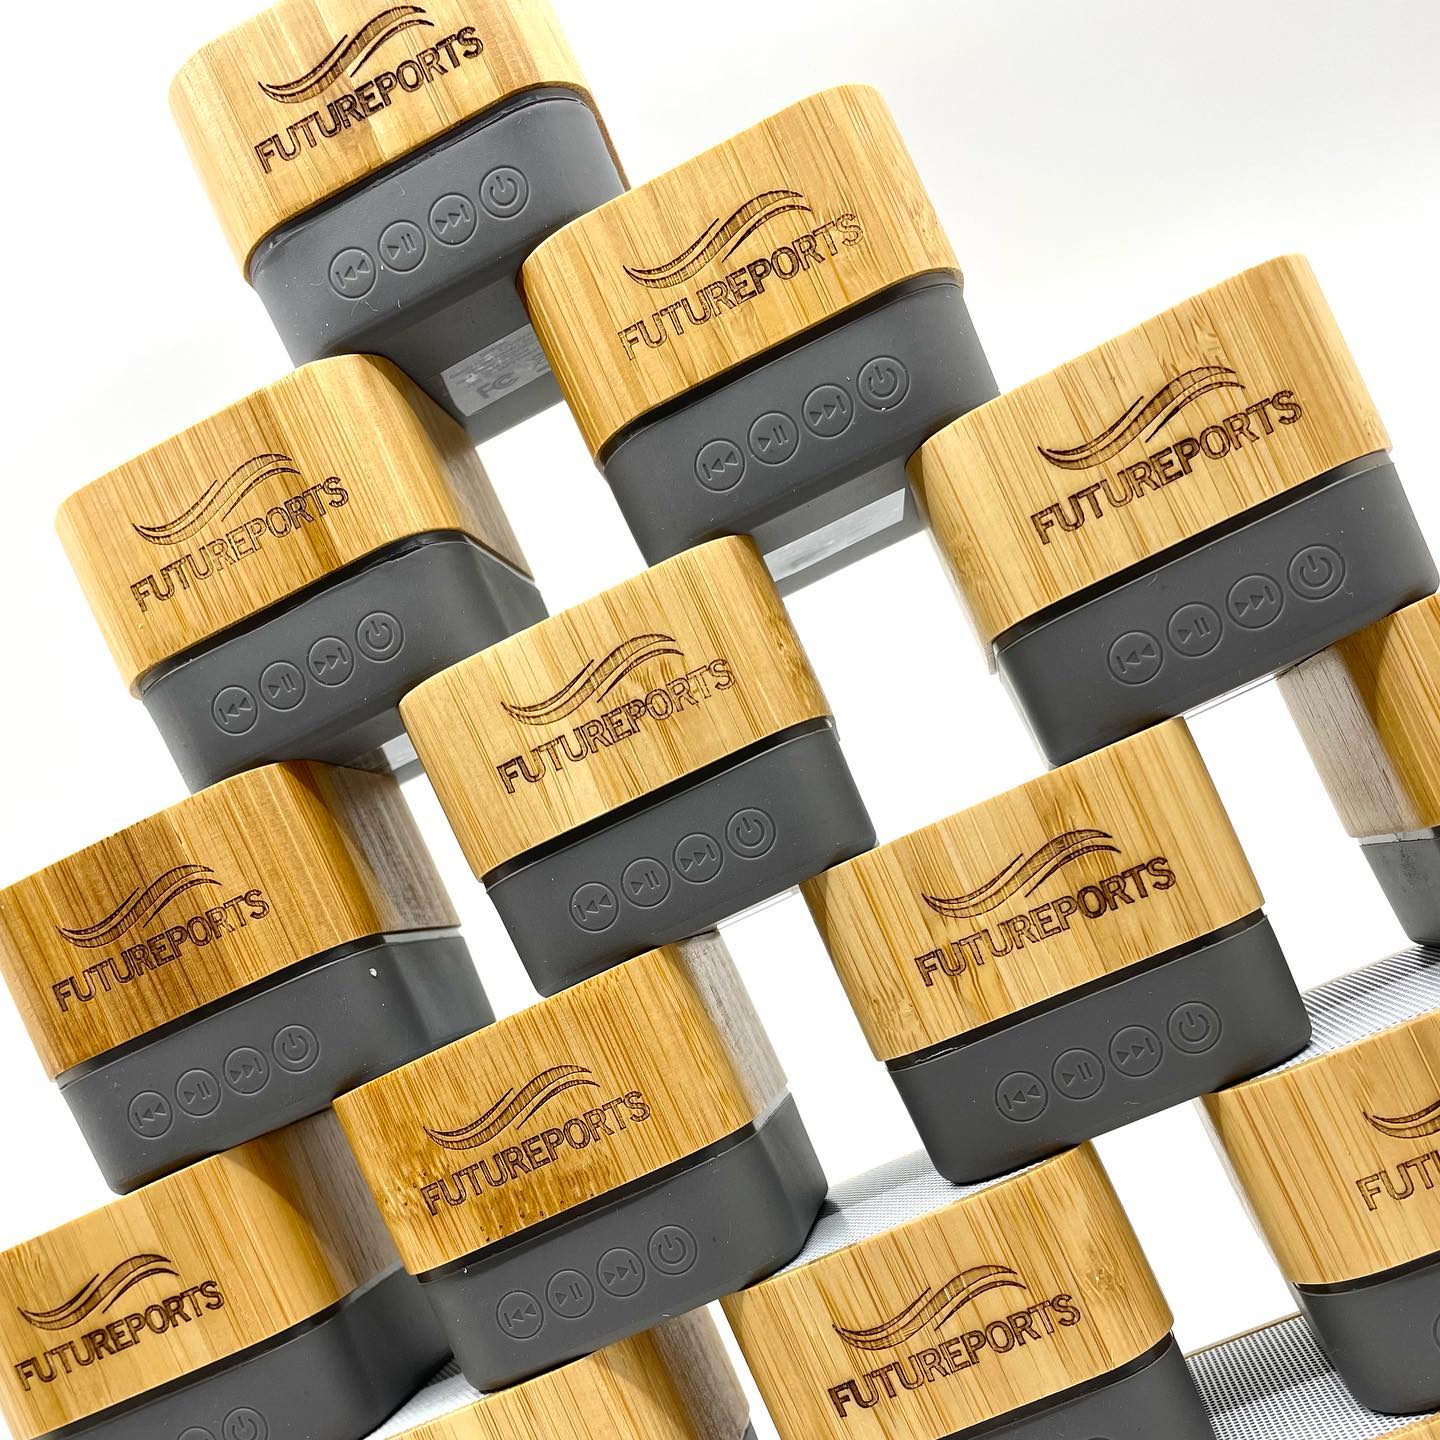
Laser engraved branded speakers
Gear up for your next conference in style! Our custom tote bags and promo items are perfect for filling up with goodies for your attendees. Add your sponsorship logos for that extra touch of professionalism. Let’s make your event stand out! 🛍️✨
#dtntech #ConferenceEssentials #CustomSwag #promotionalitems #sponsorhips #conference #conferenceideas #merchideas #promotionalideas #marketingideas #brandingideas

Level up your conference game with our custom badges and lanyards! 🎉 Let us handle the printing while you focus on making your event unforgettable.
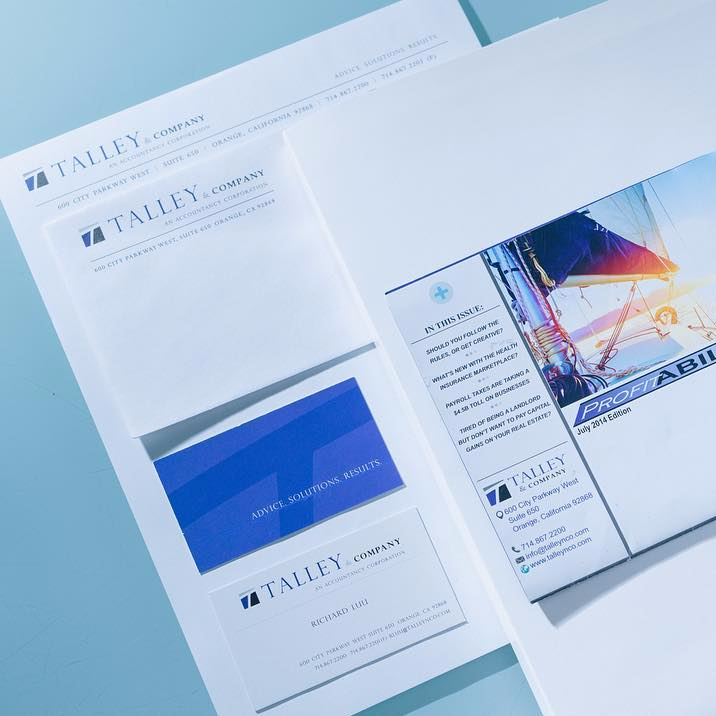
Prints by @dtn.tech- custom lanyards, custom event badge ribbons, badges, embroidered polos, printed materials for conference
#dtntech #printingcompany #embroidery #conferenceessentials #conferencelanyards #conferencebadge #custombadge #customlanyard #disneylandhotel #summit #conferenceroom
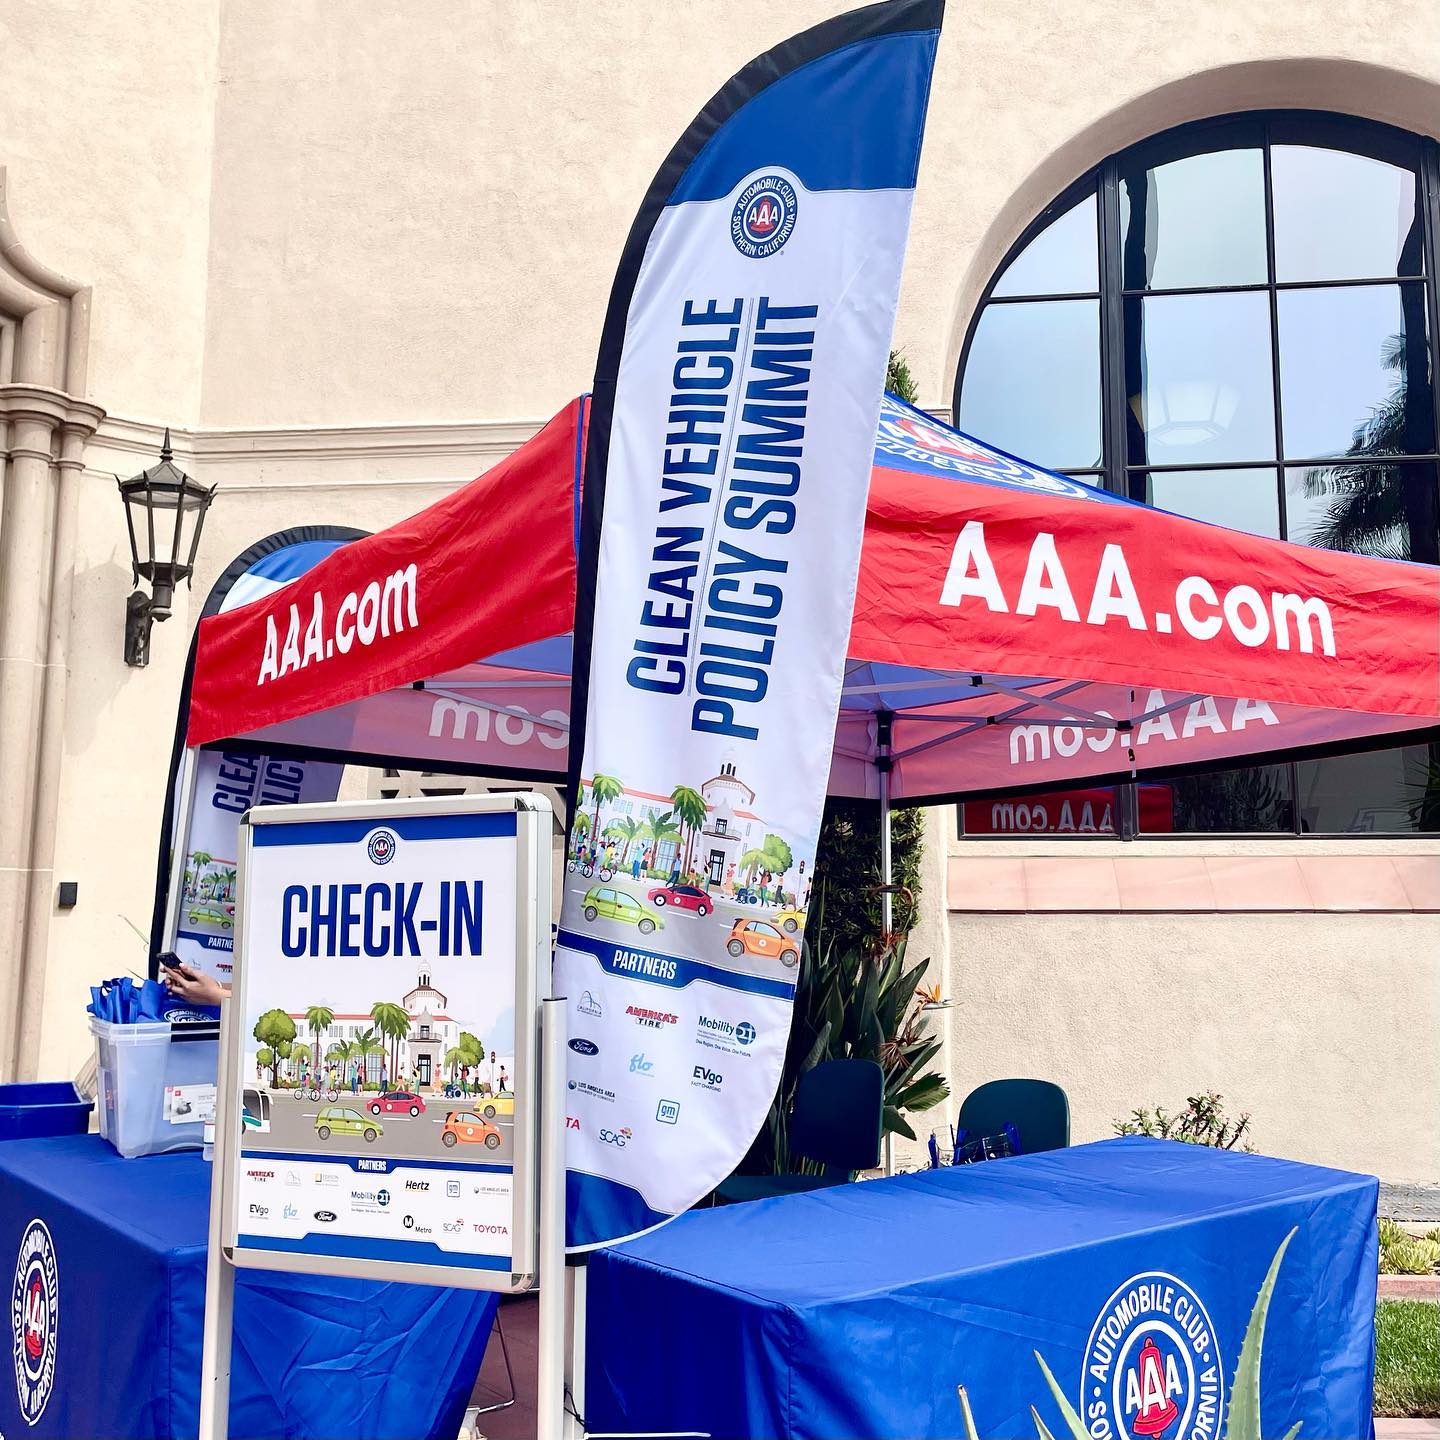
Maximize Your Brand’s Presence! Elevate your business’s visibility with our custom popup banners. Let your brand shine bright wherever you go!
#DtnTech #PrintingCompany #PopupBanners #Events #Conferences #Branding #marketing #promotionmaterials #promoitems #brandingideas
Gear up with our branded fanny packs! 🎒 Representing style, functionality, and team spirit in one sleek package. Wherever you go, let your logo lead the way.
#dtntech #printing #fannypack #customfannypack
#CompanySwag #TeamPride #gardengrove #marketing #promotional #promotionalmerchandise #marketing #embroidery
Printing, print, design, customization, graphic design, digital printing, offset printing, printing services, printing company, commercial printing, quality printing, printing solutions, printing technology, print shop, professional printing
While Elon Musk is busy building and programming robots, D1 Deli has a robot 🤖 barista! Talk about living in the future already 🤯
Prints by @dtn.tech - vinyl banner display
#dtntech #customvinylbanners #vinylbanners #newrestaurant #robotbarista #robotstakingover #robotcoffeemaker #robotarm #livinginthefuture #gardengrovemainstreet #gardengrove
Let’s ‘stick’ together for your next tasty venture!
Prints by @dtn.tech - custom stickers
#dtntech #printdesign #customstickers #stickers #restaurantbranding #chocolatelover #baggingdesign #packagingdesign
Boost your grand opening visibility with a striking banner! 🚀 Let your business stand out from the crowd and attract eager customers with an eye-catching banner announcing your big day!
#GrandOpening #businesssuccess #dtntech #vinylbanner #custombanner #customprinting #mainstreetgardengrove
Congratulations to D1 Deli on their soft opening! They are located on Main Street Garden Grove. Come check them out!
Prints by @dtn.tech - vinyl banner and custom stickers
#dtntech #vinylbanner #vinylbannerprinting #customstickers #grandopening #softopening #gardengroveeats #gardengroverestaurant
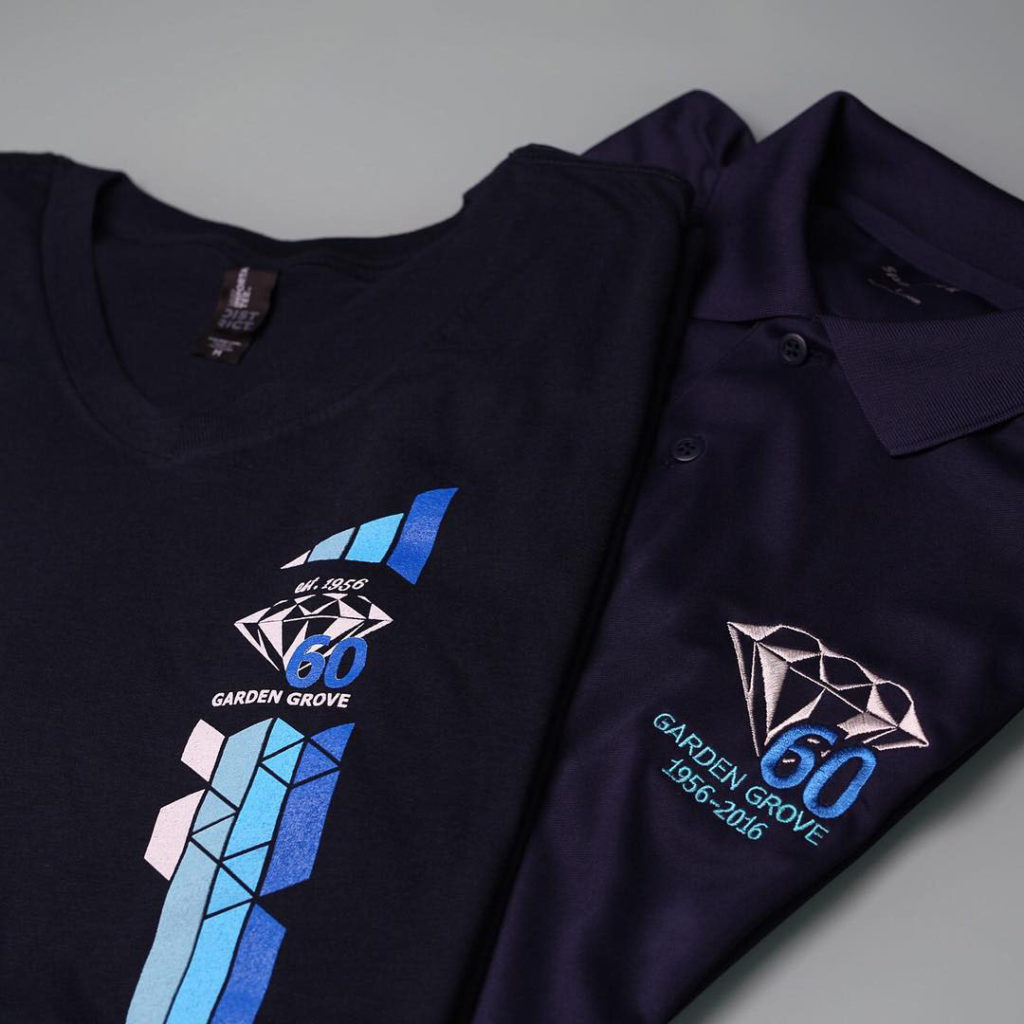
Celebrating 10 years with @yytnad 🦁💃🏻🧧 check out their screen printed 🐉 shirts!
#dtntech #screenprinting #gardengrove #customshirts #liondance #liondancing #liondancer
🦁 @yytnad 🐉 Happy 10 years 🐉 thanks for printing your shirts and banner with us for your big celebration!
#dtntech #liondancers #chinesenewyear #customshirts #screenprinting #vinylbanner #customprinting
OC printing company, printing, banner, branding, promotional items, promo items, merch, lion dancers for Chinese new year, garden grove
Pho reel 🍜 I’m not a player, I just pho a lot
#dtntech #customhoodie #customtshirts #screenprinting #branding #pho #LAeats #vinylbanner #vinylbannerprinting
Custom tshirts, screen printing, marketing, branding, restaurant in LA, Los Angeles eats, pho restaurant in LA, printing company, custom uniforms
Rain or shine, we came out to see @sando.itchi at @morninglavendercafe today to see how our booth design turned out! Loved every little detail 🥰
#dtntech #printing #foodbooth #sandoitchi #morninglavender
Farmers market booth design, foodie, catering presentation, vinyl banner printing, branding, marketing
🔊turn the volume up #ASMR
#dtntech #screenprinting #customshirts #tshirtprinting
OC printing company, print goods, promotional items, merch, merch ideas, custom merch, custom tshirts, screen printing
Wow! 🍓🍵🧋 strawberry matcha boba all day please! Thanks @krakboba for printing with us 🥰
#dtntech #printing #screenprinting
Garden grove business, printing company, shop local business, boba, matcha lover, custom uniform, custom tshirts, tshirt printing, Orange County printing, Orange County custom tshirt
What are ‘Save the Dates? 💌✨
These pre-invitations serve as a heads-up for your big day, giving guests a heads start to mark their calendars. 🗓️ Traditionally sent 6-8 months before the wedding, they ensure everyone can plan accordingly. Stay organized and make sure your nearest and dearest are ready to celebrate your special day! 🎉 Let’s design yours today!
#dtntech #printing #WeddingEducation #SaveTheDates #weddinginspiration #weddinginvitations
Wedding paper goods, wedding suite, paper goods, wedding inspirations, postcard save the dates
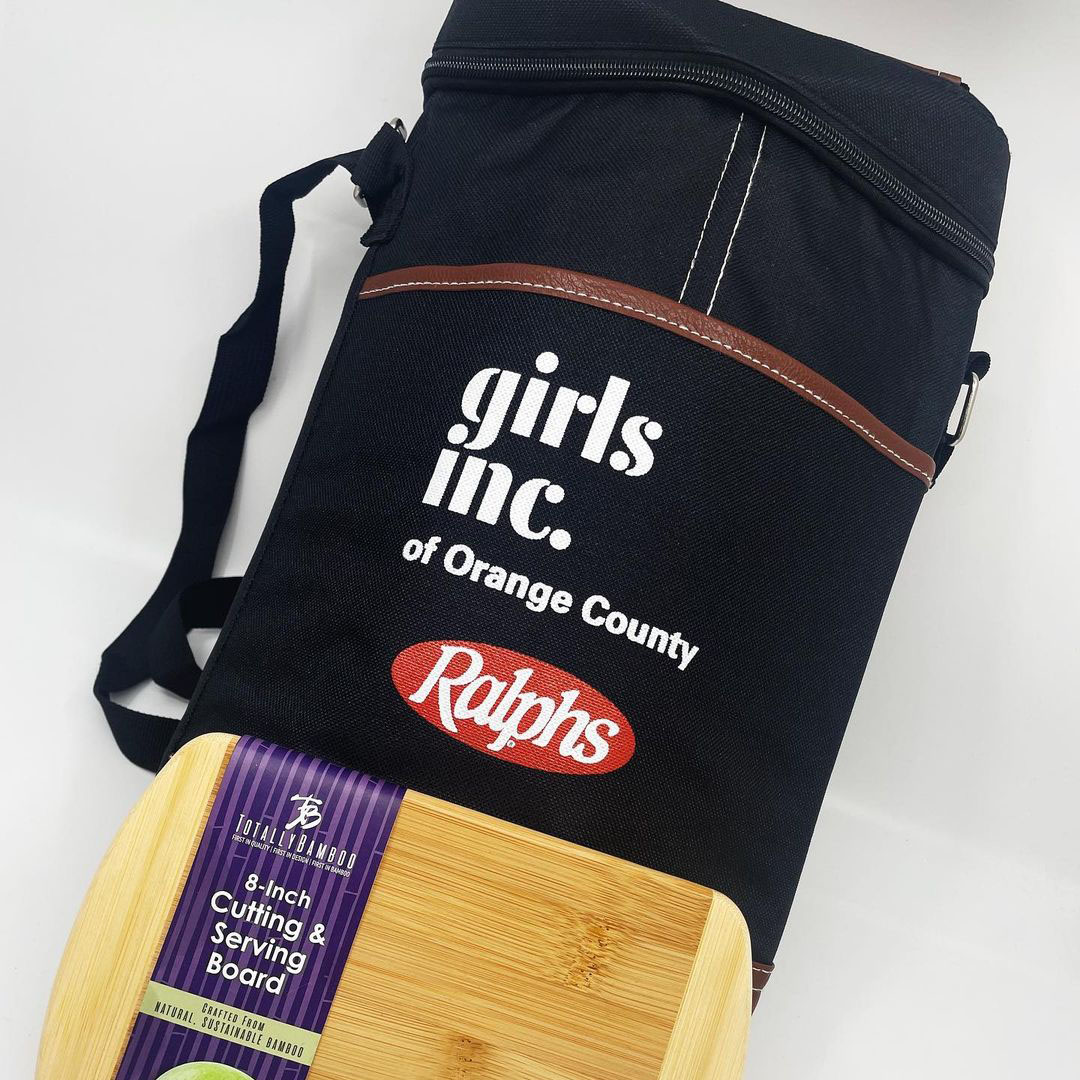
Make your gift stand out this year! Personalize our premium Yeti mugs for your team – a thoughtful touch they’ll cherish with every sip. Elevate your gifting game with unique, customized warmth! 🎁✨
#dtntech #yeti #customizedyeti #customizedgifts #corporategifts #staywarm #teambuilding #employeeappreciation #custommugs #giftsforemployees #giftsforhim #giftsforher #etching #gardengrove
What an amazing year 2023 has been! Excitedly anticipating all that 2024 holds. Grateful for your ongoing support during our years in business.
@boilingcrab gold edition for the holidays
#dtntech #heatpress #gold #goldheatpress #goldfoil #printdesign #customtshirts #boilingcrab